This post contains affiliate links.
A Beginner’s Guide
Starting a raised garden is an exciting journey into gardening that offers numerous benefits over traditional in-ground gardening. Whether you have limited space, poor soil quality, or just want to enhance the aesthetic appeal of your garden, raised beds can be a perfect solution. This beginner’s guide will walk you through the steps to start your own raised garden, ensuring you have all the information needed to embark on this rewarding endeavor.

Step 1: Choose the Right Location
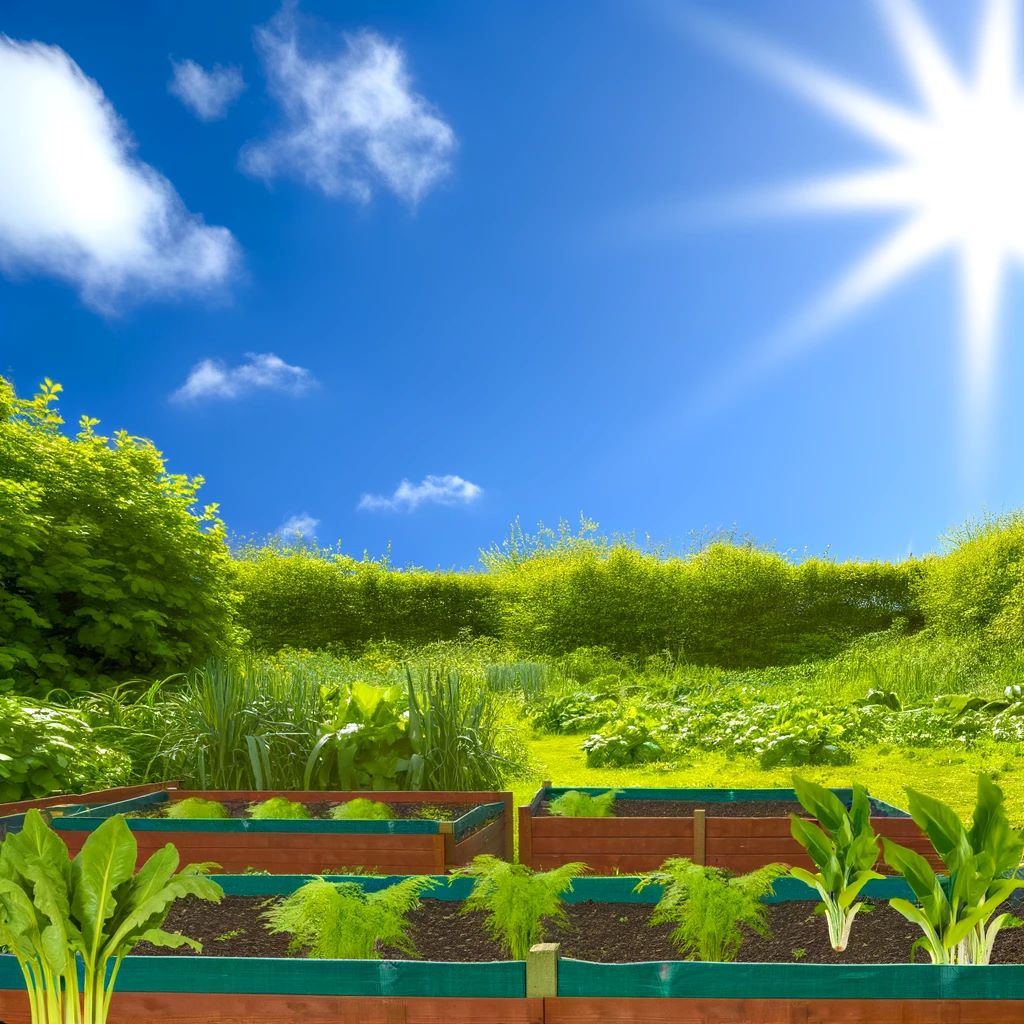
The first step in starting your raised garden is to choose the optimal location. Your garden should be placed in an area that receives at least six to eight hours of sunlight daily. Avoid low spots where water might collect and consider accessibility for watering and maintenance. A flat area is ideal, but if your yard is sloped, you can level the beds or design them to work with the slope.
Step 2: Select Your Raised Bed Material
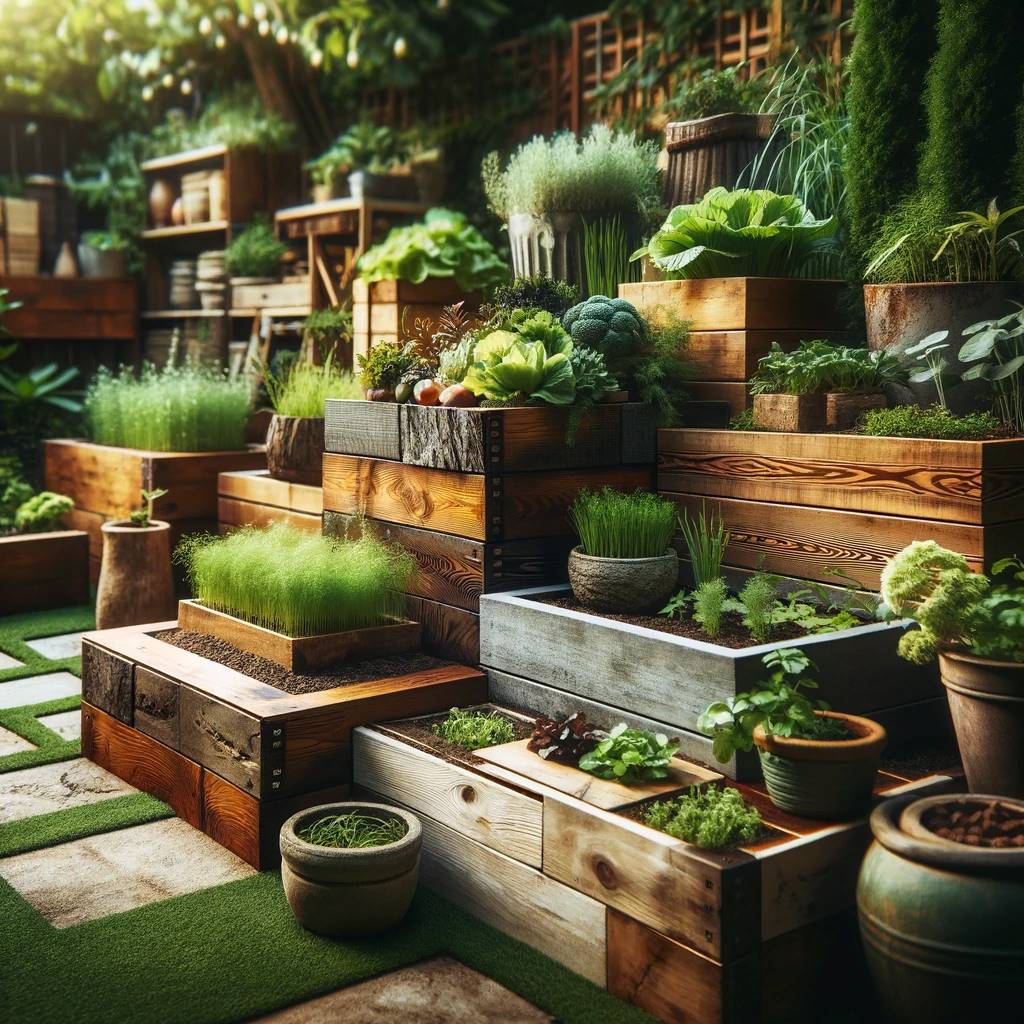
Raised beds can be constructed from various materials, including wood, stone, bricks, or even recycled materials like old tires or pallets. Cedar and redwood are popular choices for wooden beds due to their natural resistance to rot and pests. Ensure whatever material you choose is safe and won’t leach harmful chemicals into your soil, especially if you’re planning to grow edibles.
Step 3: Determine the Size and Design
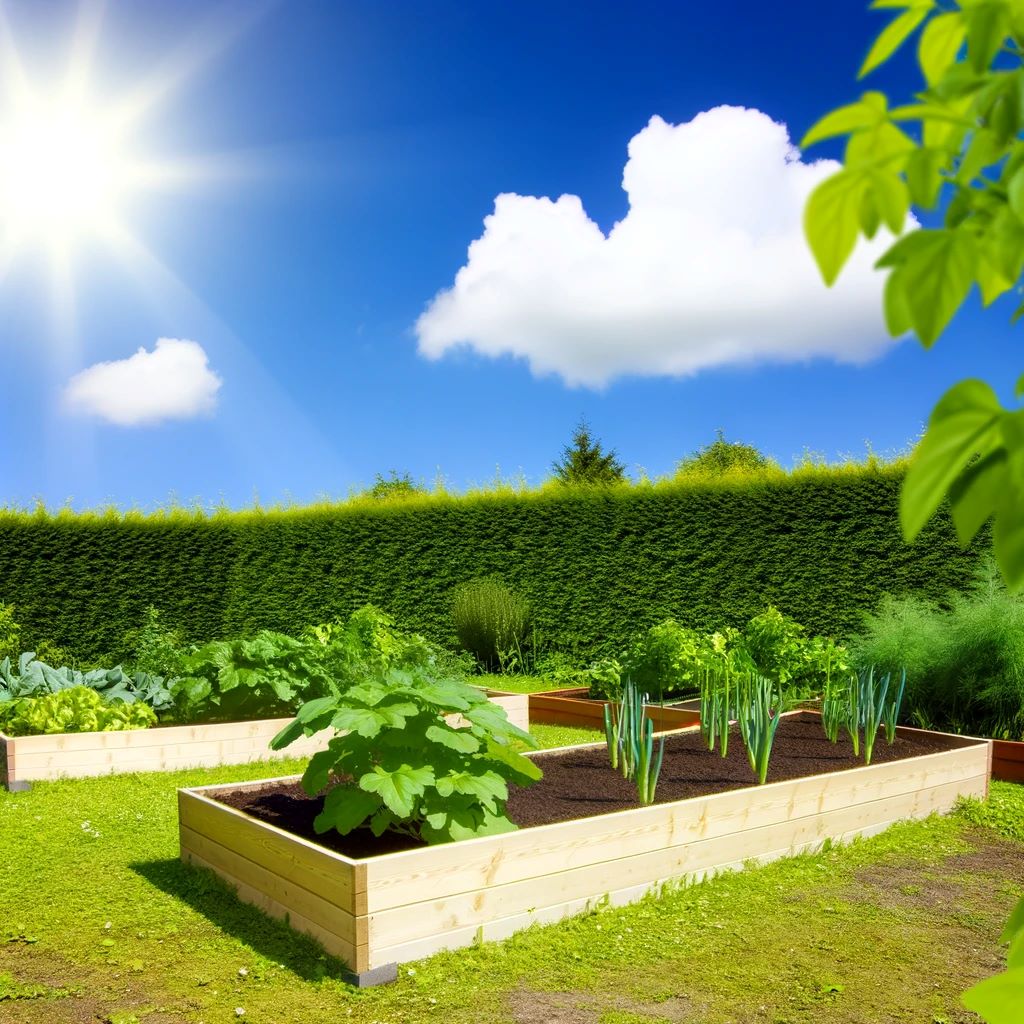
The size of your raised bed will depend on the space available and the types of plants you wish to grow. A common size is 4 feet by 8 feet, which allows easy access to the center of the bed from all sides without stepping into it. The height can vary, but 6 to 12 inches is typical for most crops. If bending or kneeling is a challenge, consider making your beds higher for easier access.
Step 4: Prepare the Site
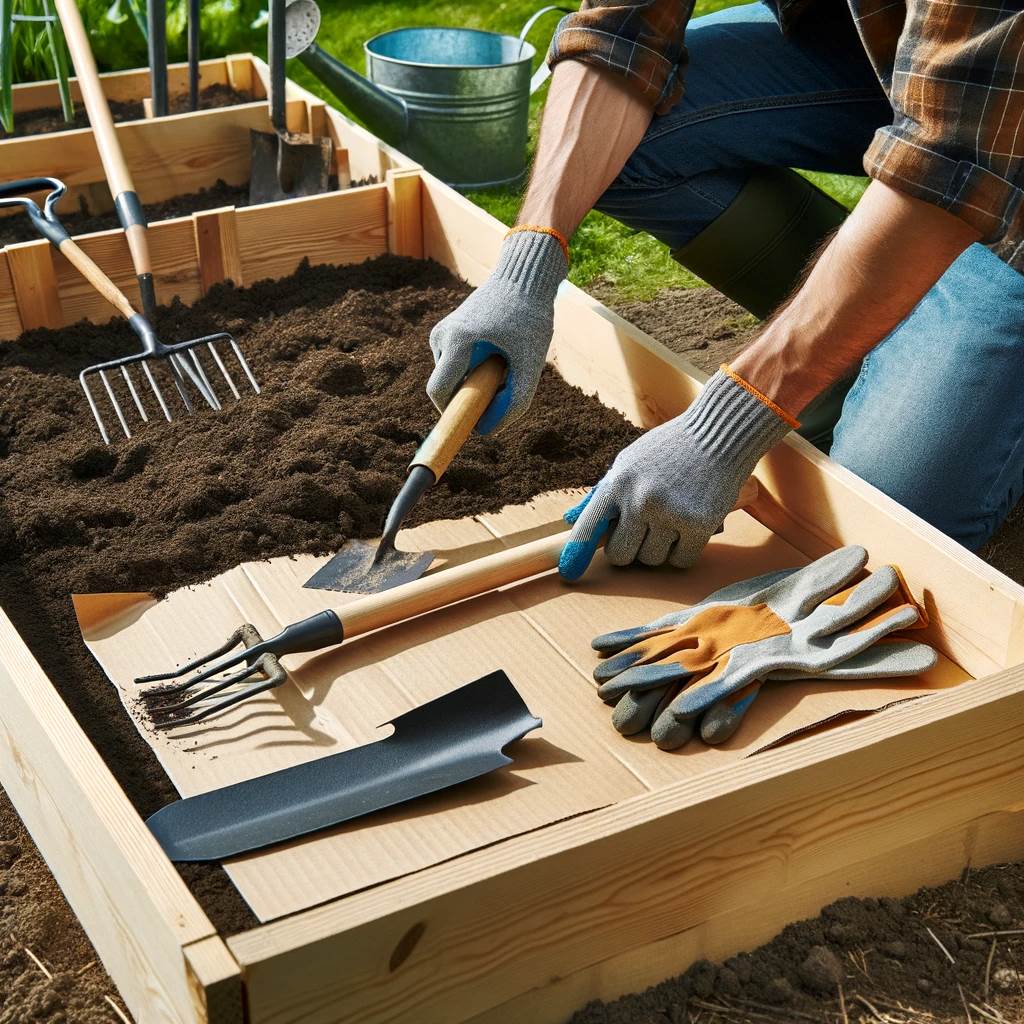
Once you’ve selected the location and size, prepare the site by removing any grass or weeds. Lay down cardboard or landscape fabric at the bottom of the beds to help prevent weeds from growing up into your garden. Ensure the site is level before constructing or placing your raised beds.

Step 5: Construct or Assemble Your Raised Beds
Whether you’re building from scratch or assembling a kit, make sure your raised beds are sturdy and secure. Follow any instructions carefully if using a kit. If building your own, ensure the corners are well-braced and that the sides are strong enough to hold the soil.
Step 6: Fill with the Right Soil Mix
Filling your raised bed with a high-quality soil mix is crucial for the success of your garden. A mixture of topsoil, compost, and other organic material will provide a rich, well-draining environment for your plants. Avoid using soil directly from your yard, as it may contain weeds, pests, and diseases.

Step 7: Plant Your Garden
Now comes the fun part—planting your garden! Choose plants that are suitable for your climate and the season. Consider companion planting to enhance growth and deter pests. Make sure to space your plants according to their mature size to avoid overcrowding.
Step 8: Water and Maintain Your Garden
Regular watering is essential, especially during the establishment phase and hot weather. Mulching your raised bed can help retain moisture and suppress weeds. Keep an eye out for pests and diseases, and take action as necessary to keep your garden healthy.

Conclusion
Starting a raised garden is a rewarding project that can yield bountiful harvests and beautify your outdoor space. By following these steps, you’ll be well on your way to creating a thriving raised garden. Remember, gardening is a learning process, so don’t be afraid to experiment and adjust your practices as you gain experience. Happy gardening!
This post contains affiliate links.

